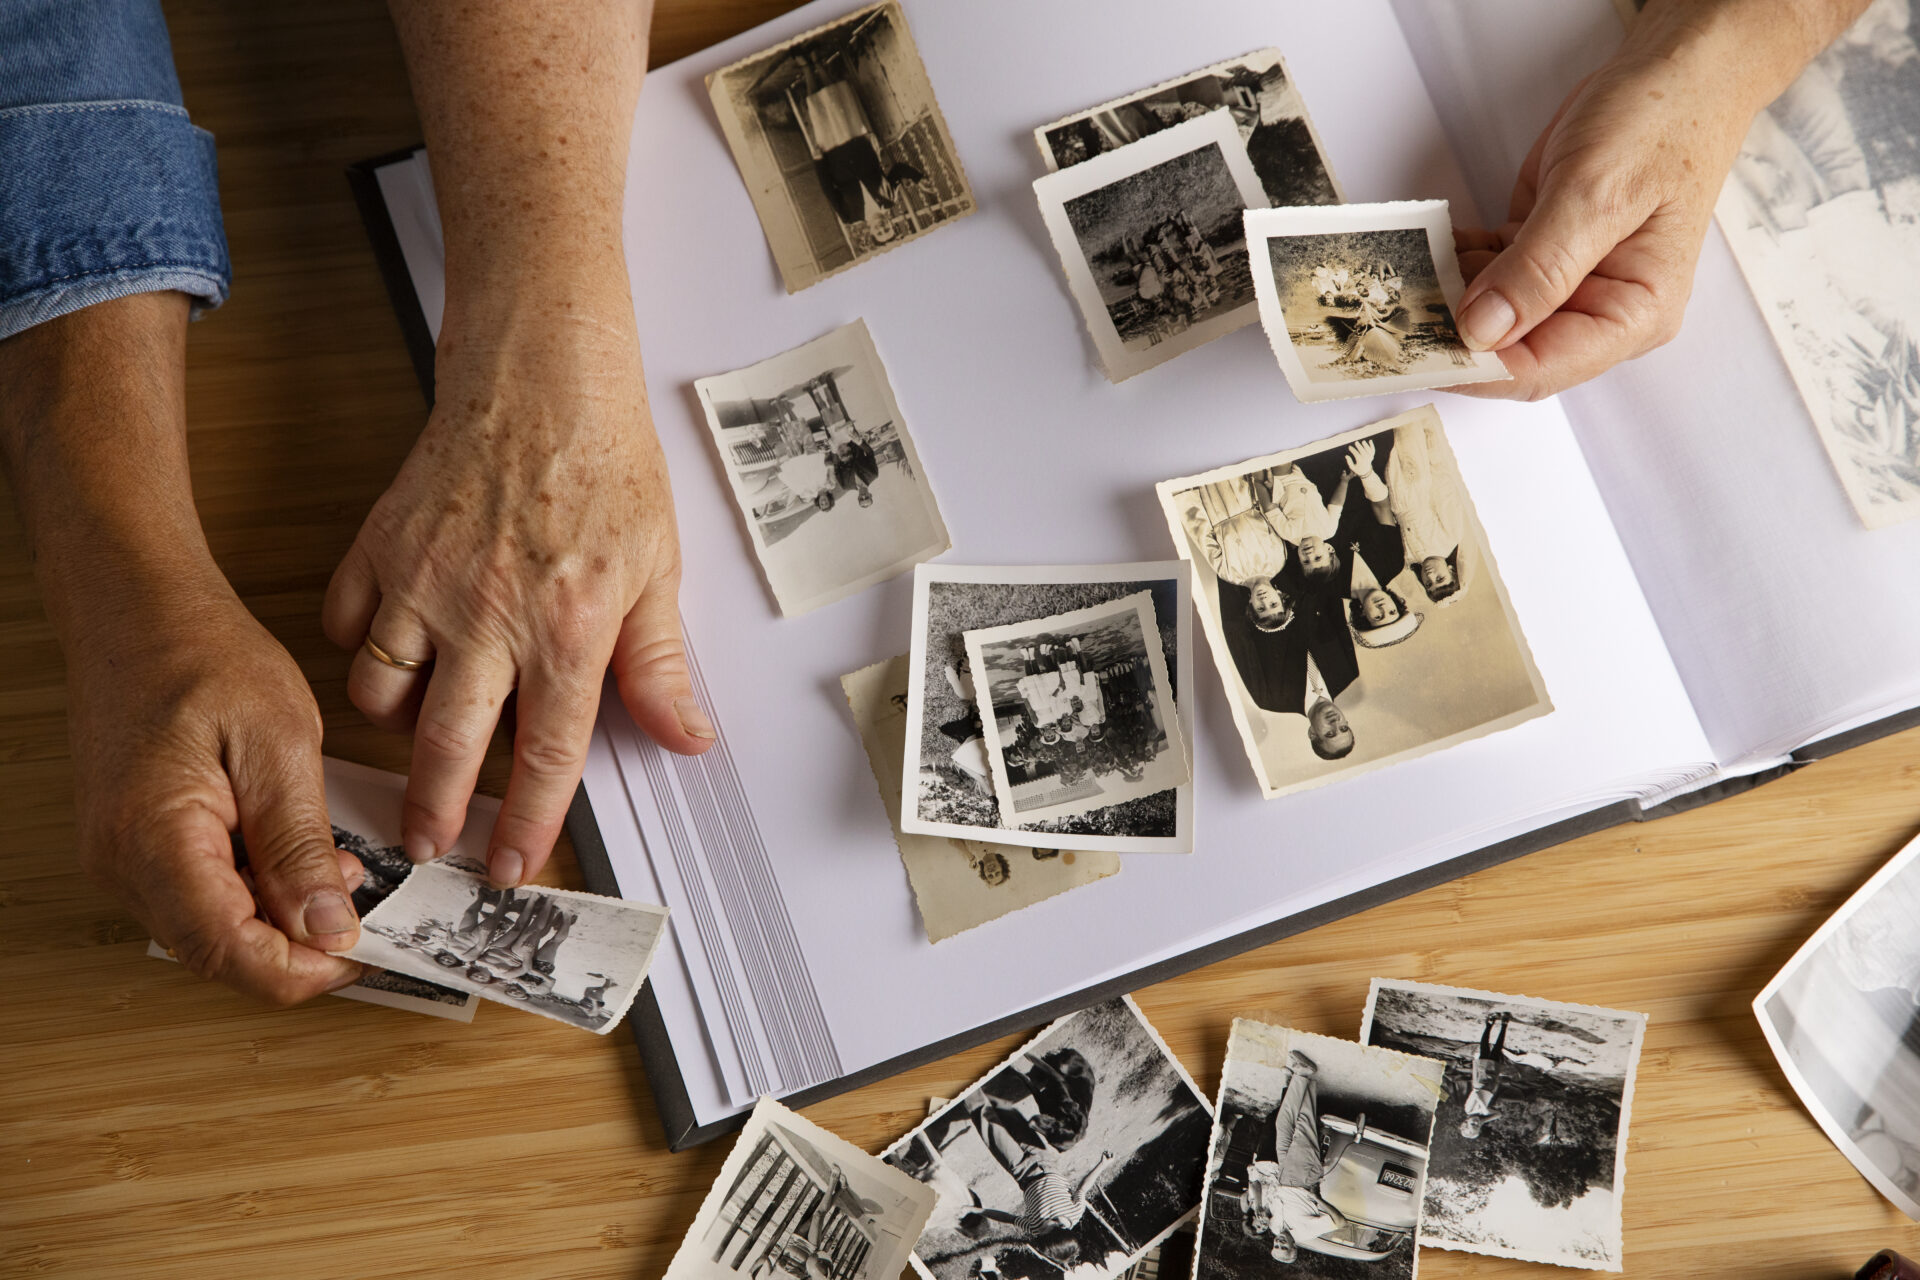

Old family photos carry something no cloud storage or social media album ever will — real, lived moments frozen in time. A birthday in 1978. A graduation in 1965. A quiet Sunday afternoon that no one thought to document digitally because digital didn’t exist yet. These photos sit in shoeboxes, albums, and attic drawers across millions of homes, quietly fading. Paper yellows. Emulsion peels. Colors shift into orange-brown tones that no longer reflect what was actually there.
Digitizing those photos isn’t just about convenience. It’s about making sure the people and places in those images survive another generation. But there’s a right way and a wrong way to do it. Done carelessly, you end up with blurry scans, washed-out colors, or files so large they crash your computer — or so small they fall apart when printed. This guide walks you through exactly how to get it done properly, from preparation to final delivery.
Why Photo Quality Matters More Than Speed
Most people who try to digitize photos at home reach for a flatbed scanner or a smartphone app and call it done. The result is usually disappointing — washed-out skies, grainy shadows, and text on the back of the photo that’s illegible. The core problem is that consumer-grade tools are built for speed, not preservation. Professional photo digitization is built around one goal: capturing everything the original photo contains, including details the human eye can barely see.
Resolution, color calibration, dust removal, and proper lighting all play a role. When one of these is off, the scan fails to be a true record of the original. And once the original photo degrades further — which it will — that flawed scan becomes the only version that exists.
Step 1: Sort and Prepare Your Photos Before Anything Else
Before a single photo goes near a scanner, a preparation step is necessary. This is the stage most people skip — and it’s the one that causes the most problems later. Sorting and preparing your photos properly takes time, but it saves hours of frustrating post-processing and makes the final archive far more useful.
Handle Photos with Clean Hands or Cotton Gloves
Skin oils transfer easily onto photo surfaces and can cause lasting smudges or chemical reactions over time. Before handling any print, especially older or delicate ones, wash your hands thoroughly or put on lint-free cotton gloves. This is especially important for black-and-white photos, which tend to be more sensitive to oils and humidity.
Remove Photos from Magnetic Albums Carefully
Magnetic or “sticky” photo albums from the 1970s and 1980s are some of the worst storage environments for prints. The adhesive is highly acidic and actively damages photos over time. If your photos are stuck to these pages, do not force them off. Use dental floss or a thin spatula to gently slide under the print from one corner, working slowly. If a photo won’t come free without tearing, scan it in place — the album page can be dealt with separately.
Group Photos by Era, Event, or Family Branch
Organizing before scanning makes the digital archive genuinely useful. If photos are scanned randomly, finding a specific image later becomes a hunt through hundreds of unnamed files. Group them into logical categories — decades, family branches, events, or locations — and label each group before digitization begins. This becomes your folder structure in the digital archive.
Step 2: Choose the Right Resolution for Each Photo Type
Resolution is measured in DPI — dots per inch. It determines how much detail gets captured from the original. A higher DPI captures more detail but creates larger files. The right setting depends on what you plan to do with the scan and how small the original is.
- Standard 4×6 or 5×7 prints: 600 DPI is the minimum for clean results. 1200 DPI gives you room to crop and still print large.
- 35mm slides and negatives: These are tiny originals. Scan at 2400 to 4000 DPI to capture the full detail the film holds.
- Large format prints (8×10 and above): 300 to 600 DPI is usually sufficient, since the original is already large.
- Damaged or faded photos: Scan at higher resolution to capture whatever detail remains. More data gives restoration software more to work with.
- Photos you plan to enlarge or display: Always scan at 1200 DPI or higher. Enlarging a low-res scan produces pixelated, unusable prints.
Step 3: Home Scanning vs. Professional Digitization
Flatbed scanners sold at retail stores are adequate for documents and basic photos. They fall short with older, damaged, or faded prints. Professional scanners used by services like Archiving Life Media, Inc. are calibrated regularly, use better light sources, and capture a wider range of color depth. The difference shows up most clearly in photos from the 1950s through the 1970s, where color shifts and fading are common problems.
A professional scanner captures the photo’s actual color profile rather than a simplified interpretation of it. This matters when a photo has subtle tonal gradations — a clear blue sky, skin tones in shadow, or detail in white fabric. Consumer scanners tend to blow out highlights and crush shadows. Professional equipment holds detail in both extremes.
Beyond the hardware, professional digitization includes cleaning, color correction, and quality review. Every scan gets checked before it’s delivered. This is a step that home scanning simply cannot replicate at scale.
Read More: Why Old Home Film Reels Are More Fragile Than You Think
Step 4: Save Files in the Right Format — and Back Them Up Properly
File format is a decision people often don’t think about until something goes wrong. JPEG is the most common format for photos, and it works fine for sharing and general storage. However, JPEG uses lossy compression — every time you edit and re-save a JPEG, you lose a small amount of data. Over multiple edits, this degradation becomes visible.
TIFF is the preferred archival format. It’s lossless, meaning no data is lost when saving. TIFF files are larger, but for preservation purposes, that’s the right trade-off. Keep your archive masters as TIFFs and create smaller JPEG copies for sharing and uploading.
Storage location matters just as much as file format. A single external hard drive is not a backup — it’s one point of failure. Proper digital preservation follows the 3-2-1 rule: three copies of your files, on two different types of media, with one copy stored off-site (such as a cloud service). Archiving Life Media, Inc. delivers files on USB drives and can provide cloud download links, giving you a strong starting point for this kind of redundant storage.
Step 5: Consider Restoration for Faded or Damaged Photos
Digitization captures what’s there. Restoration recovers what used to be there. These are two different things, and not every photo needs restoration — but some do. A high-quality scan of a severely faded photo still looks faded. Restoration software, combined with a trained eye, can bring back contrast, correct color shifts, remove scratches, and repair torn edges.
Common restoration needs include color correction on photos from the 1960s and 1970s that have shifted to orange or red tones, removal of dust and scratch marks, repair of physical tears or creases in the paper, and recovery of detail in overexposed areas. When you work with a professional service, you can request restoration at the same time as digitization, which is far more efficient than digitizing first and hiring someone separately.
When Professional Help Makes More Sense Than DIY
Home scanning works well for a small number of photos in decent condition. It starts to break down quickly when you’re dealing with large collections, fragile originals, slides, or negatives. Most families who go the DIY route end up with inconsistent results — some photos scan well, others don’t, and the process takes far longer than expected.
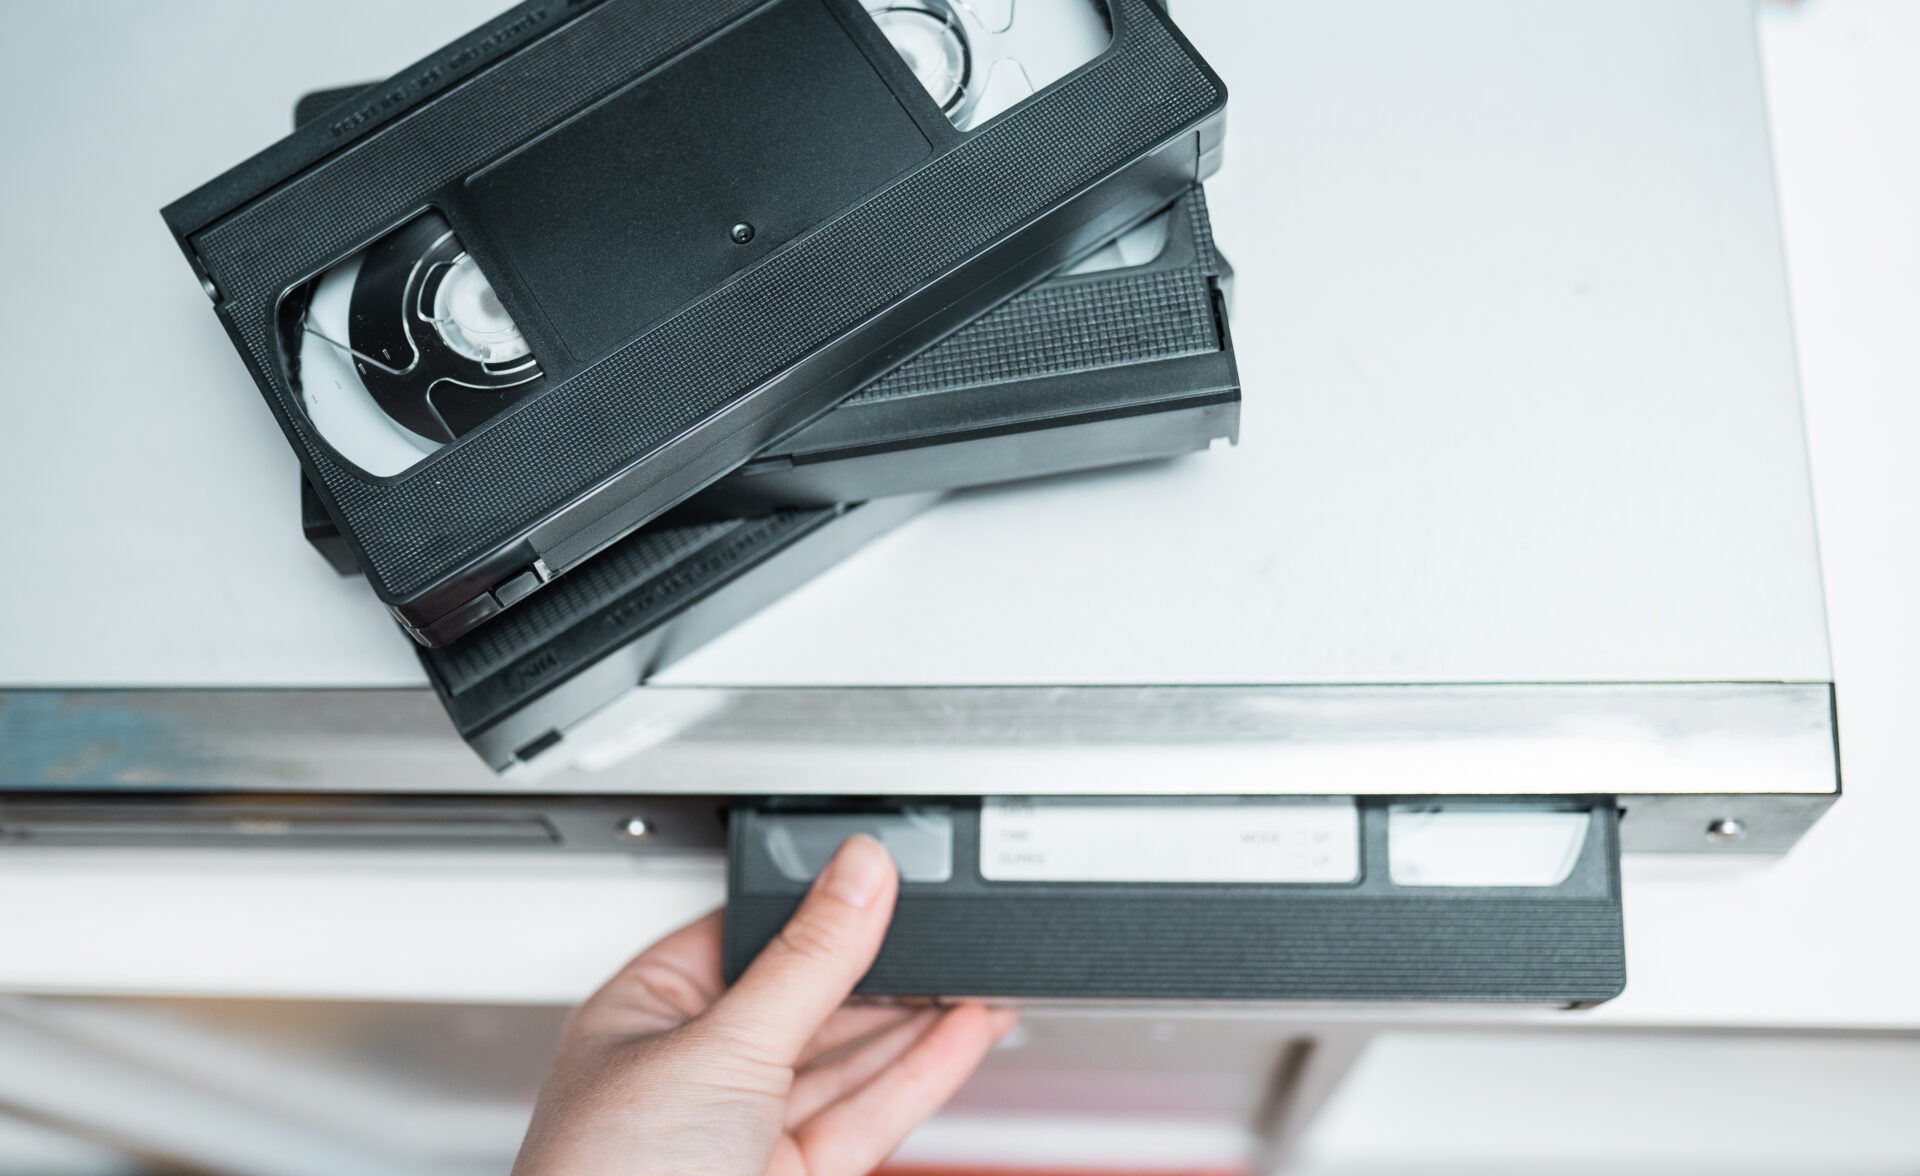
Clients who come to Archiving Life Media, Inc. for Video Transfer Services Richfield, MN and surrounding communities often bring photos at the same time as their old tapes, consolidating the entire project into one visit. That kind of efficiency is hard to replicate on your own, especially when you’re also managing slides, negatives, and prints from multiple decades.
Professional services also carry accountability that home scanning doesn’t. Your originals are handled by trained staff who understand how to work with fragile materials. Every item that comes in is tracked, and nothing gets damaged without notice. For irreplaceable photographs — of people who are no longer here, of places that no longer exist — that accountability matters.
What to Ask a Professional Photo Scanning Service Before You Commit
Not all digitization services are equal. Before handing over irreplaceable photos, it’s worth asking a few direct questions to understand what you’re actually getting.
Ask what DPI they scan photos at, and whether that setting changes based on photo size or condition. Ask how they handle damaged or stuck photos. Ask what file format your scans will be delivered in, and whether they offer TIFF in addition to JPEG. Ask whether color correction is included or an add-on. Ask how your originals are stored while in their care, and whether they’re insured during the process.
These aren’t difficult questions, but the answers tell you a great deal about the quality and professionalism of the service. A service that scans everything at 300 DPI regardless of photo size and delivers only JPEGs is cutting corners. A service that adjusts resolution, offers TIFFs, and handles each photo with care is doing the job properly.
Trusted Photo and Video Transfer Services Near Richfield, MN
Families throughout the Minneapolis-Saint Paul metro area trust Archiving Life Media, Inc. for photo scanning, slide digitization, and Video Transfer Services Richfield, MN residents and nearby communities have relied on since 2011. The location in Bloomington is easy to reach from Richfield, Edina, Bloomington, and surrounding suburbs, making it a practical choice for anyone who prefers dropping off items in person rather than shipping them to an unknown facility.
In-person drop-off means you can discuss your project directly, ask questions face to face, and feel confident about who is handling your materials. For people who have spent decades protecting old photos, that direct relationship matters. You’re not submitting a form and waiting weeks — you’re talking to the people who will actually do the work.
Organizing Your Digital Archive After Scanning
A folder of 2,000 unnamed image files is not a digital archive — it’s a different kind of disorder. After digitization, the work of organization makes the archive genuinely accessible. Start with a clear folder structure based on your pre-scan sorting: folders by decade or era, subfolders by event or family branch, and consistent file naming that includes the year, event, and subject.
Adding basic metadata — names, dates, locations — transforms a collection of image files into a searchable family record. Most photo management software allows you to tag people, add captions, and create albums. Do this while the context is fresh, or while older family members are still available to help identify faces and places.
For Video Transfer Services Richfield, MN families who digitize both photos and video in the same project, keeping both media types in a unified archive — organized by the same folder structure — makes the whole collection easier to navigate and share across generations.
Common Mistakes That Ruin Photo Digitization Projects
After working with families on photo and media preservation for over a decade, a few mistakes come up repeatedly. Knowing them in advance can save a significant amount of time, money, and frustration.
Scanning at too low a resolution is the most common issue. People choose 300 DPI because it sounds substantial, not realizing that 300 DPI is really only adequate for photos you intend to view on screen and never print larger than the original. For any meaningful print enlargement or long-term archival use, 600 to 1200 DPI is the right floor.
Storing everything on a single device is the second most common mistake. Hard drives fail. USB drives get lost. Without a backup strategy in place, one hardware failure erases everything. The time to set up redundant storage is before something goes wrong, not after.
Discarding originals after scanning is a mistake that can’t be undone. Technology improves, and a scan that looks good today may look inadequate by the standards of scanning equipment five years from now. Keeping originals — properly stored in acid-free sleeves or archival boxes — means the option to re-scan at higher quality always remains open.
Preserving Family History Is a One-Time Opportunity
The window to preserve these photos doesn’t stay open indefinitely. Paper deteriorates faster than most people expect. A photo stored in an attic in Minnesota goes through dramatic temperature and humidity swings every year. Each cycle accelerates degradation. Photos from the 1950s and 1960s that were in decent condition a decade ago are now showing significant fading, brittleness, and color shift.
The people in those photos — grandparents, parents, childhood friends, the family dog — deserve better than a box in a closet. Digitization doesn’t just protect the image. It makes it sharable. Grandchildren who never met a great-grandparent can see their face clearly, in full detail, on a screen or in a print that looks nothing like the faded original.
Archiving Life Media, Inc. has been helping families across Bloomington, Richfield, and the wider metro area do exactly this since 2011. As trusted providers of Video Transfer Services Richfield, MN and nearby communities depend on, they bring the same care to photo scanning as to every other format they handle — because every format represents a moment that deserves to last.
Ready to Preserve Your Family Photos?
Your photos have waited long enough. Archiving Life Media, Inc. makes it simple to bring them into the digital age without risking the originals. Drop off your collection at the Bloomington location, or ship them securely — the team handles everything from there.
Visit archivinglifemedia.com to book your project or ask any questions about the process. High-quality digitization, careful handling, fast turnaround — and memories that last a lifetime.