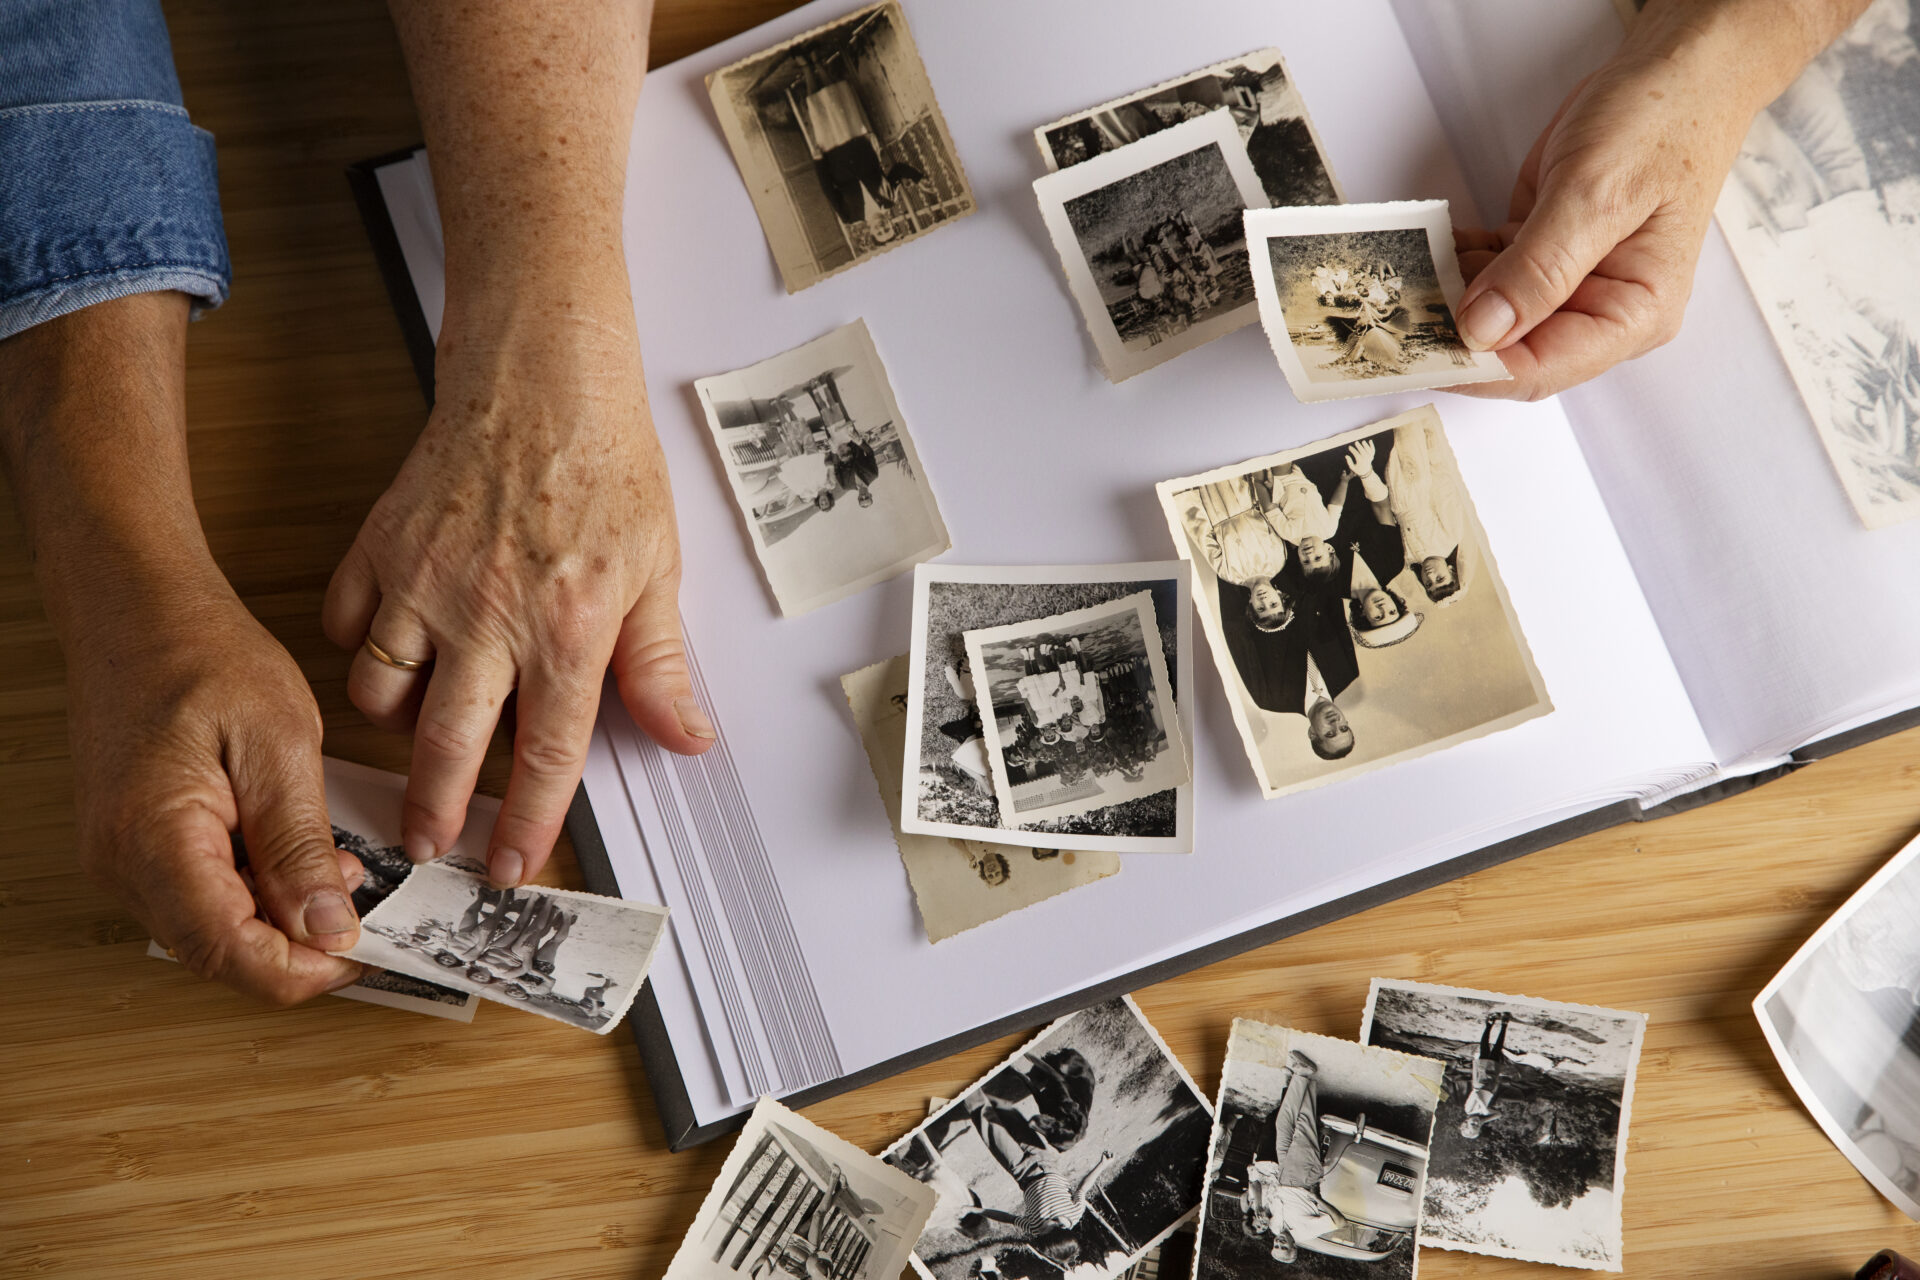

Old photo albums hold decades of birthdays, holidays, first days of school, and ordinary afternoons that somehow became the moments families treasure most. The problem is that printed photographs and mounted slides were never built to last forever. Ink fades. Paper yellows. Albums crack. And once those images are gone, there is no getting them back. That is exactly why more families are turning to a professional photo slide scanning service to protect what matters before time takes it away.
This guide walks through everything you need to know about digitizing old photo albums correctly — from preparing your materials to understanding what happens during a professional transfer — without putting your originals at risk.
Why Photo Albums Deteriorate Faster Than You Think
Most people assume their printed photos are safe sitting in an album on a shelf. In reality, even stored photographs are under constant attack from the environment. Light, humidity, fluctuating temperatures, and the acids in album pages all contribute to image degradation over time. A photo stored in a standard cardboard box in a basement can show visible fading in as little as ten to fifteen years.
The chemicals used in photo development processes from the 1960s through the 1990s are particularly unstable. Color prints from this era are especially prone to color shift — reds turn orange, blues fade to grey, and the overall image takes on a washed-out cast. Slides stored in plastic sleeves often stick together. Black-and-white prints, while more stable, still suffer from silver mirroring: a metallic sheen that develops across darker areas of the image.
The conclusion is straightforward: waiting is not a neutral decision. Every year you delay increases the chance that some images will be too far gone to restore properly.
What Happens During a Professional Photo Slide Scanning Service
A professional photo slide scanning service is not just running photos through a flatbed scanner and saving the files. There is a careful, multi-step process designed to capture the most detail possible while keeping your originals safe from start to finish.
Step 1: Condition Assessment
Before any scanning begins, each photo or slide is examined individually. Technicians check for sticking, surface damage, mold, or chemical residue that could cause problems during the transfer. Fragile or damaged pieces are flagged for careful handling or light pre-cleaning before they touch any equipment.
Step 2: Cleaning
Dust and debris on a photo surface show up dramatically at high scan resolutions. Professional services use appropriate cleaning tools — typically soft brushes, blower bulbs, or lint-free cloths — to remove surface particles without scratching the emulsion layer. This step alone makes a significant difference in the final output quality.
Step 3: High-Resolution Scanning
The actual scanning is done at resolutions appropriate for the media type. Standard 4×6 prints are typically scanned at 600 DPI, while slides and negatives require much higher resolutions — often 2000 to 4000 DPI — because they are physically small and contain a great deal of fine detail. Using the wrong resolution at this stage means losing detail that cannot be recovered later.
Step 4: Color Correction and Restoration
After scanning, each image goes through basic correction — adjusting for fading, correcting color casts, and removing dust spots digitally. For photos in poor condition, more advanced restoration work can recover images that appear beyond saving.
Step 5: File Organization and Delivery
Final files are named, organized, and prepared for delivery in the format you choose — a USB drive, an external hard drive, a cloud download link, or DVD copies, depending on your preference.
How to Prepare Your Photos Before Bringing Them In
A little preparation on your end makes the entire process smoother and protects your photos in transit. Here is what you should do before dropping off or shipping your albums:
- Handle photos only by the edges — fingerprints leave oils on the surface that attract dust and can cause long-term damage
- Do not try to peel stuck photos apart yourself — this almost always tears the image; let a professional handle separation
- Keep photos in their albums if possible — removing them adds handling risk and can damage the mounts
- Avoid rubber bands or paper clips around albums or loose prints — both can leave permanent marks or indentations
- Note any special instructions, such as which albums are highest priority or whether certain photos have sentimental significance that warrants extra care
- If shipping, use a rigid mailer or small box with padding — never a standard envelope for loose prints
Being organized before you arrive means your technician understands exactly what you need, and your originals spend less time being handled during the process.
Do not wait until the damage is irreversible. Your photos can be protected today. Schedule your scanning appointment here.
DIY Scanning vs. Professional Service: An Honest Comparison
Consumer flatbed scanners have improved significantly over the years, and for some uses they do a reasonable job. But there are real limitations that matter when you are working with irreplaceable family photos.
Resolution and Detail
Consumer scanners marketed for home use typically max out at resolutions that work adequately for standard prints but fall short for slides, negatives, and small-format images. Professional equipment used in dedicated photo slide scanning service setups captures significantly more detail — especially from slides where the image is compressed into a small physical area.
Color Accuracy
Getting accurate color from a degraded photograph requires calibrated equipment. Consumer scanners apply automatic corrections that can look acceptable on a screen but produce color shifts when printed or compared to the original. Professional calibration ensures the output matches the original as closely as the technology allows.
Time and Risk
Scanning a full photo album yourself takes many hours. During that time, every photo is handled repeatedly. For albums containing older or more fragile prints, each handling event is an opportunity for accidental damage. A professional service minimizes handling through efficient workflow and trained staff.
Restoration Capability
Improving a poor-quality image after scanning requires either manual editing skills or software with a significant learning curve. Professional services include basic restoration as part of the process and can offer advanced restoration for severely damaged pieces.
Common Mistakes That Damage Photos During DIY Digitization
Using a Sheet-Fed Scanner
Sheet-fed scanners pull paper through rollers during scanning. This works fine for documents but can crease, tear, or permanently damage photographs — especially older prints that have become brittle over time. Only flatbed scanners should ever be used for photos.
Pressing the Lid Down Too Hard
Flatbed scanner lids need to be closed to block ambient light, but pressing down with force on a stack of photos can crack the scanner glass or bend prints. Place photos flat and lower the lid gently.
Scanning at Too Low a Resolution
The temptation is to scan at lower resolutions to save storage space and processing time. The result is files that look acceptable on a phone screen but cannot be printed at any meaningful size. At 72 DPI, a scanned image appears pixelated at anything larger than a small digital display. Minimum 300 DPI for prints, much higher for slides and negatives.
Skipping the Cleaning Step
Dust shows up at high resolutions as visible specks across the image. Lightly dusting each photo before scanning takes only a few minutes per batch and saves significant post-processing time.
What to Do With Your Digitized Photos After Transfer
Once you have your digital files, storing them correctly is just as important as the scanning process itself. Digital files are not automatically permanent — hard drives fail, USB drives get lost, and cloud services change their terms or shut down.
A sensible storage approach follows what archivists call the 3-2-1 rule: keep three copies of your files, on two different types of storage media, with one copy stored in a separate physical location. In practical terms, that might mean keeping files on your home computer, backed up to an external hard drive, and also saved to a cloud storage service. This way, no single failure — a house fire, a hard drive crash, or an accidental deletion — can take everything with it.
Naming your files in a consistent way also matters. A file called IMG_4872.jpg tells you nothing six years from now. A file called 1987_Christmas_GrandmaEdna.jpg tells you exactly what it is without opening it. Taking an hour to rename and organize your files after transfer is time that pays off every time you want to find a specific image later.
Special Considerations for Slides and Negatives
Slides and negatives require different handling than standard prints, and many people do not realize this until they have already caused accidental damage. Slides should never be touched on the film surface — always handle by the mount or edges. Fingerprints on the film itself are very difficult to remove cleanly and can leave permanent marks that appear in the scan.
Negative strips are even more delicate. The base of older negatives — particularly acetate-based film from before the 1980s — is prone to what photographers call vinegar syndrome: a deterioration process that produces an acetate smell and eventually makes the film brittle and unusable. If you notice a vinegar smell from your negative sleeves, those materials are actively deteriorating and should be prioritized for scanning before the damage progresses further.
A professional photo slide scanning service handles slides and negatives with anti-static gloves, dedicated film holders, and scanners designed specifically for transparent media. The difference in quality between a flatbed scan of a negative and a dedicated film scan is substantial even at the same nominal resolution.
Questions to Ask Before Choosing a Scanning Service
Not all digitization services operate the same way. Before handing over your irreplaceable originals, it makes sense to ask a few basic questions.
- Do you return original media after scanning, and how is it packaged for the return?
- What resolution do you scan standard prints, slides, and negatives?
- Is basic color correction and dust removal included in the standard service, or priced separately?
- What delivery formats are available for the final files?
- How long will the process take from drop-off to delivery?
- What happens to the digital files after delivery — are they retained as a backup for any period?
A service that answers these questions clearly and without hesitation is one that has thought carefully through its process. Vague answers or reluctance to discuss handling procedures are worth paying attention to.
Corporate and Estate Collections: When Volume Matters
Not all digitization projects involve a single family’s photo albums. Estate collections, business archives, and organizational records often involve hundreds or thousands of images across multiple formats — prints, slides, film negatives, and sometimes older formats like glass plate negatives or Polaroids.
For large collections, working with a service experienced in handling volume is important. Workflow organization, consistent naming conventions, and the ability to process different media types within the same project all matter when you are dealing with several hundred items rather than a single album.
Corporate clients often have additional requirements around confidentiality and secure handling of materials. A service that has handled institutional archives understands these needs and can accommodate them as part of the project scope.
How Long Does the Process Take?
Turnaround time depends on the volume and condition of your media. For a single album of standard prints in good condition, most professional services complete scanning within five to ten business days. Larger projects — multiple albums, mixed formats, slides, or materials requiring restoration — naturally take longer.
Rush services are sometimes available for time-sensitive situations, such as when photos are needed for a reunion, memorial, or anniversary event. It is worth asking about expedited options if timing is a factor.
Shipping your materials adds time in both directions, which is worth accounting for if you are working toward a specific date. Dropping materials off locally typically allows a more predictable timeline.
Preserving Memories Is Not Just About the Photos Themselves
There is something that gets lost when families wait too long to digitize their photographs. The people who remember the context — who is in the photo, where it was taken, what was happening that day — are not always around forever. A photograph labeled only by its date loses something irreplaceable when there is no one left who remembers the names.
Many families use the digitization process as an opportunity to document that context while they still can. Scanning sessions sometimes become occasions for older family members to sit down together and go through the images, recording names, places, and stories as they go. The digital files become more valuable when they carry that information with them.
If you are working on a large family collection, it is worth thinking about how you want to organize and annotate the files as part of the project. A little time spent capturing context now pays significant dividends for future generations who will not have the benefit of living memory to fill in the blanks.
Your photos have already waited long enough. Drop them off at our Bloomington, MN location or ship them in securely — and we will handle everything from there. Get started here.
Final Thoughts
Digitizing old photo albums is not complicated when you approach it with the right preparation and the right help. The main things to understand are that your originals are more fragile than they appear, that resolution and color accuracy matter more than most people assume, and that a professional photo slide scanning service — like the one offered at Archiving Life Media — will consistently produce better results with less risk than a DIY approach for materials that cannot be replaced.
The technology exists right now to preserve everything in those albums with clarity and quality that will outlast any physical print by decades. The only thing that stands between your family’s visual history and a future where it is safely preserved is taking the first step.