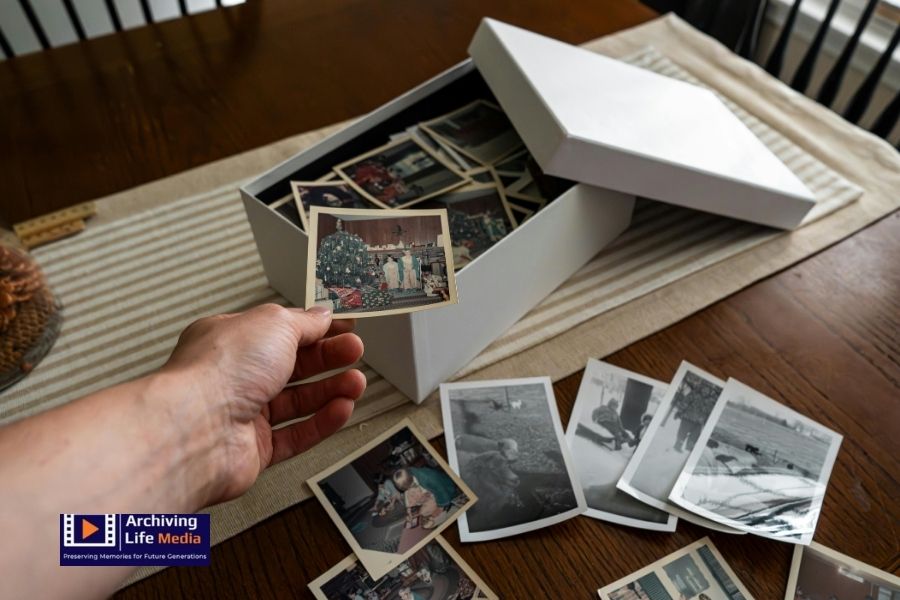
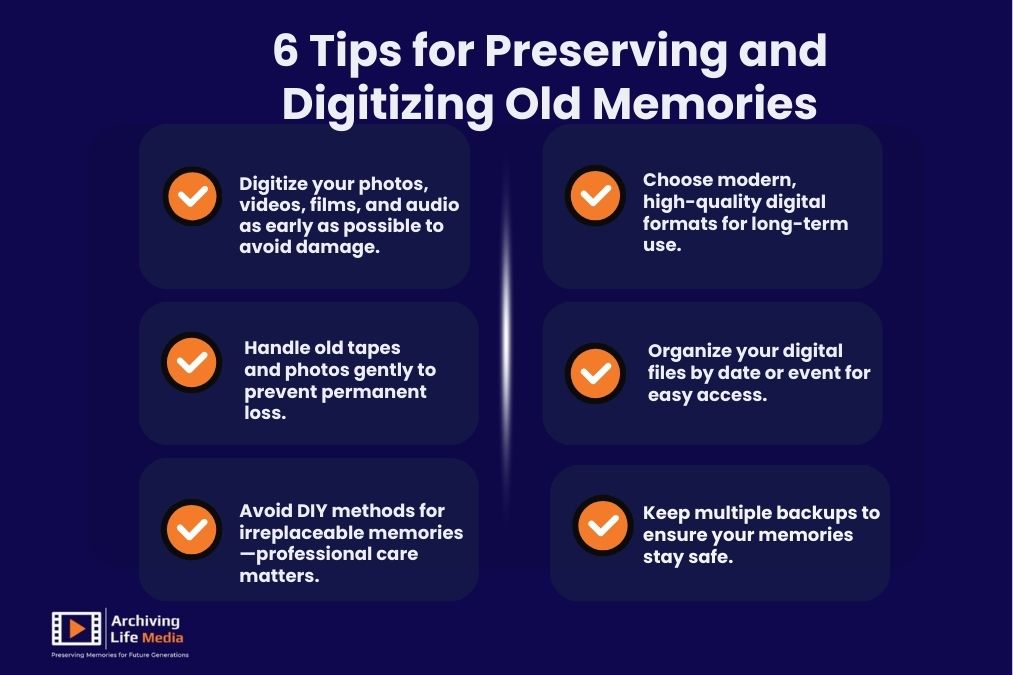
Memories are priceless. They tell the story of who we are, where we come from, and the moments that shaped our lives. Unfortunately, many of these memories are stored on fragile formats—old videotapes, audio cassettes, film reels, photographs, and slides—that were never designed to last forever.
At Archiving Life Media, we believe preserving memories is not just a service—it’s a responsibility. This step-by-step guide will help you understand how to digitize old memories, why it matters, and how professional video transfer, audio transfer, film transfer, and photo & slide scanning can protect your legacy for generations to come.
Why Digitizing Old Memories Is More Important Than Ever
Analog media degrades over time. VHS tapes lose signal, cassette tapes stretch and snap, film reels fade, and photos discolor or crack. On top of that, playback equipment is becoming harder to find every year.
Digitization solves these problems by converting physical media into high-quality digital files that are:
- Easy to store and back up
- Simple to share with family and friends
- Protected from physical damage
- Accessible on modern devices
By digitizing your memories today, you ensure they remain watchable, listenable, and shareable tomorrow.
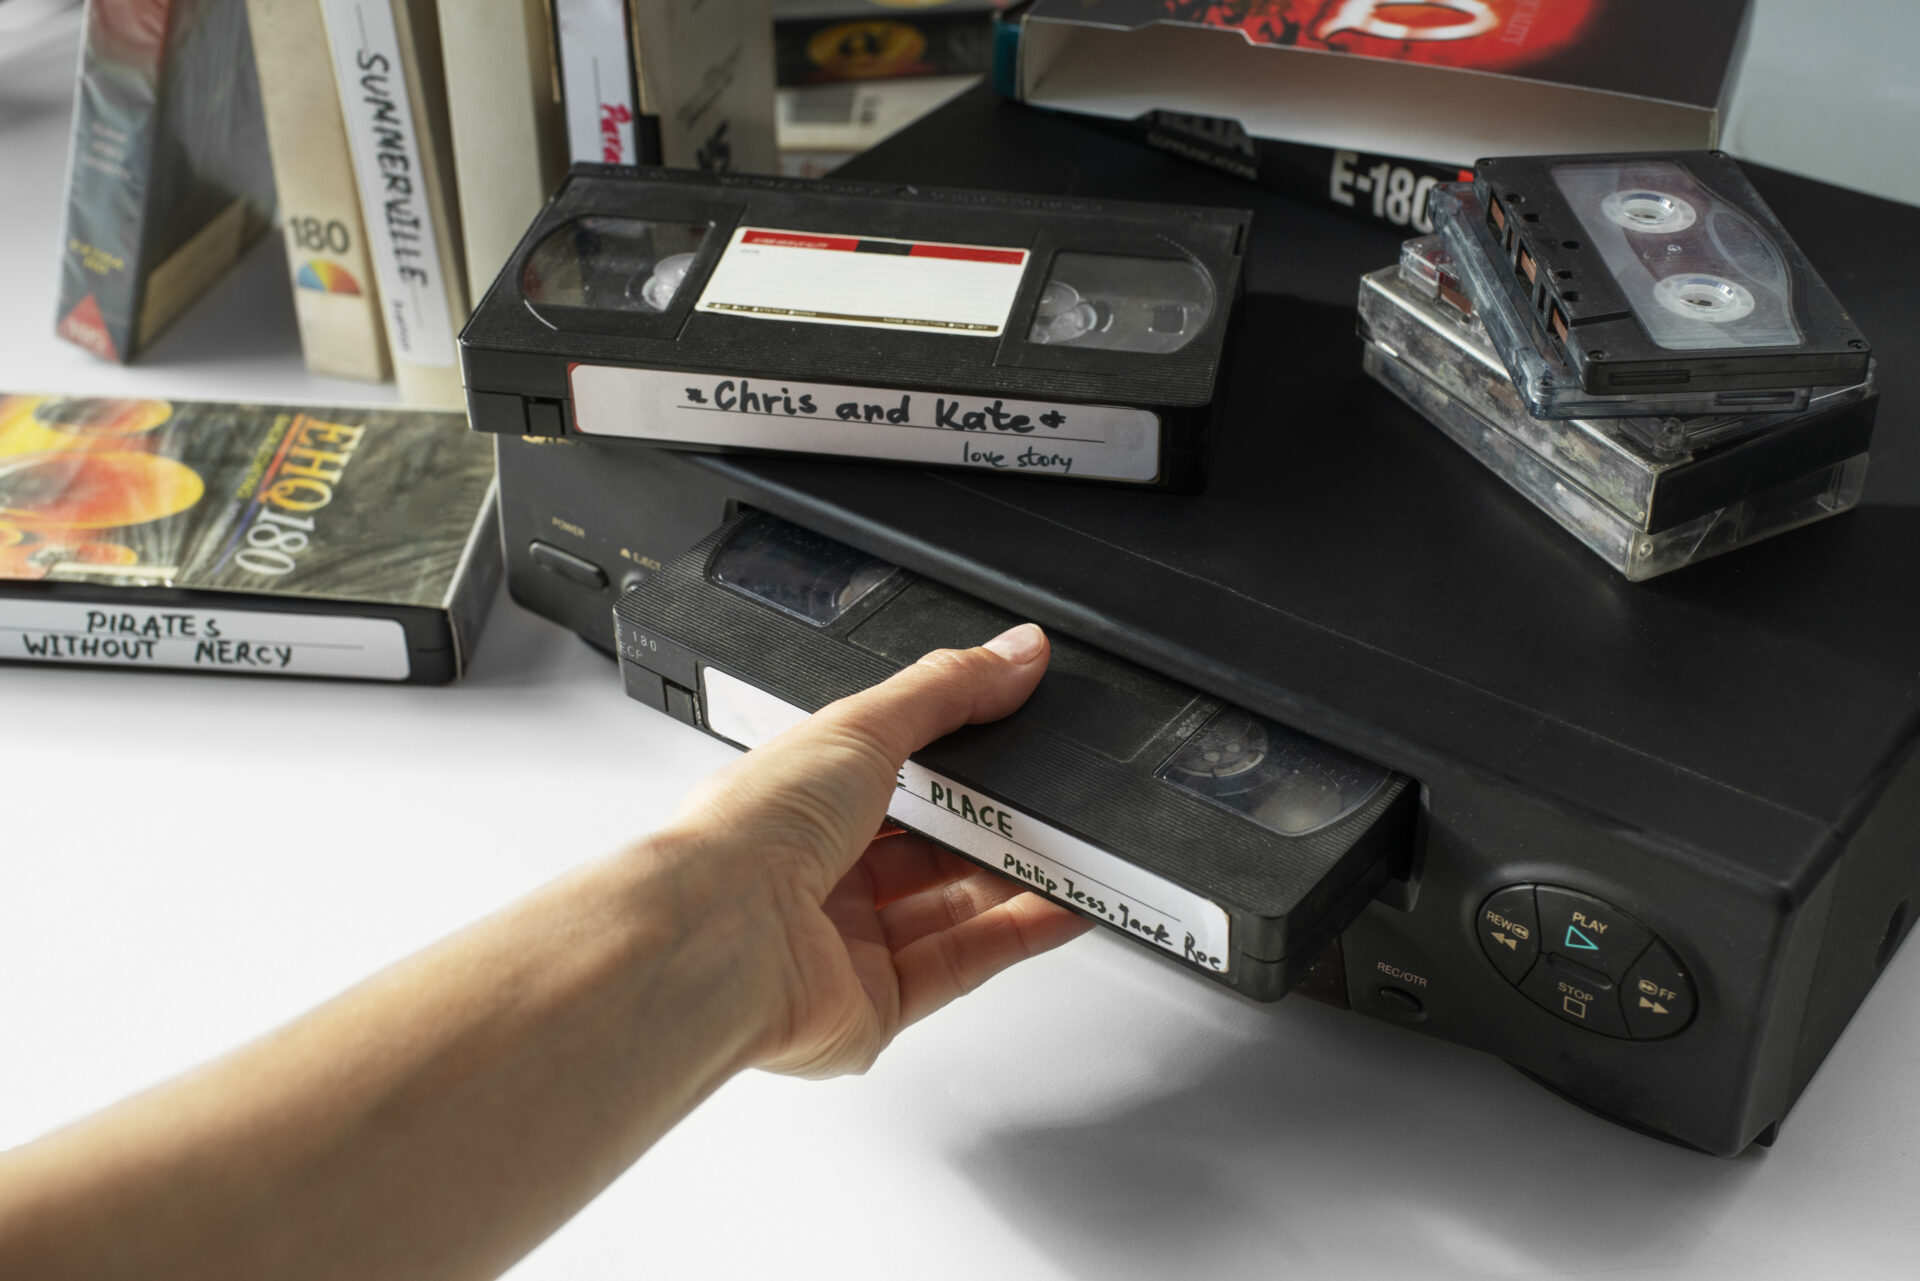
Step 1: Gather and Sort Your Media
Before starting the digitization process, take time to collect and organize everything you want to preserve.
Common Media Types to Look For
- VHS, VHS-C, MiniDV, Hi8 tapes (video)
- Audio cassettes, reel-to-reel tapes, microcassettes (audio)
- 8mm, Super 8, 16mm film reels (film)
- Printed photographs
- Slides and negatives
Helpful Organization Tips
- Group items by type (videos, audio, photos, film)
- Label items if you know dates, locations, or names
- Separate damaged media so professionals can handle them carefully
This step saves time and ensures nothing important gets overlooked.
Step 2: Choose the Right Digitization Method
Once your media is organized, the next decision is how to digitize it. While DIY solutions exist, professional services offer far better quality, safety, and long-term reliability.
DIY Digitization (Pros & Cons)
Pros:
- Lower upfront cost
- Full control over the process
Cons:
- Requires specialized equipment
- Time-consuming
- Risk of damaging irreplaceable media
- Lower audio and video quality
For irreplaceable memories, professional digitization is almost always the safer choice.
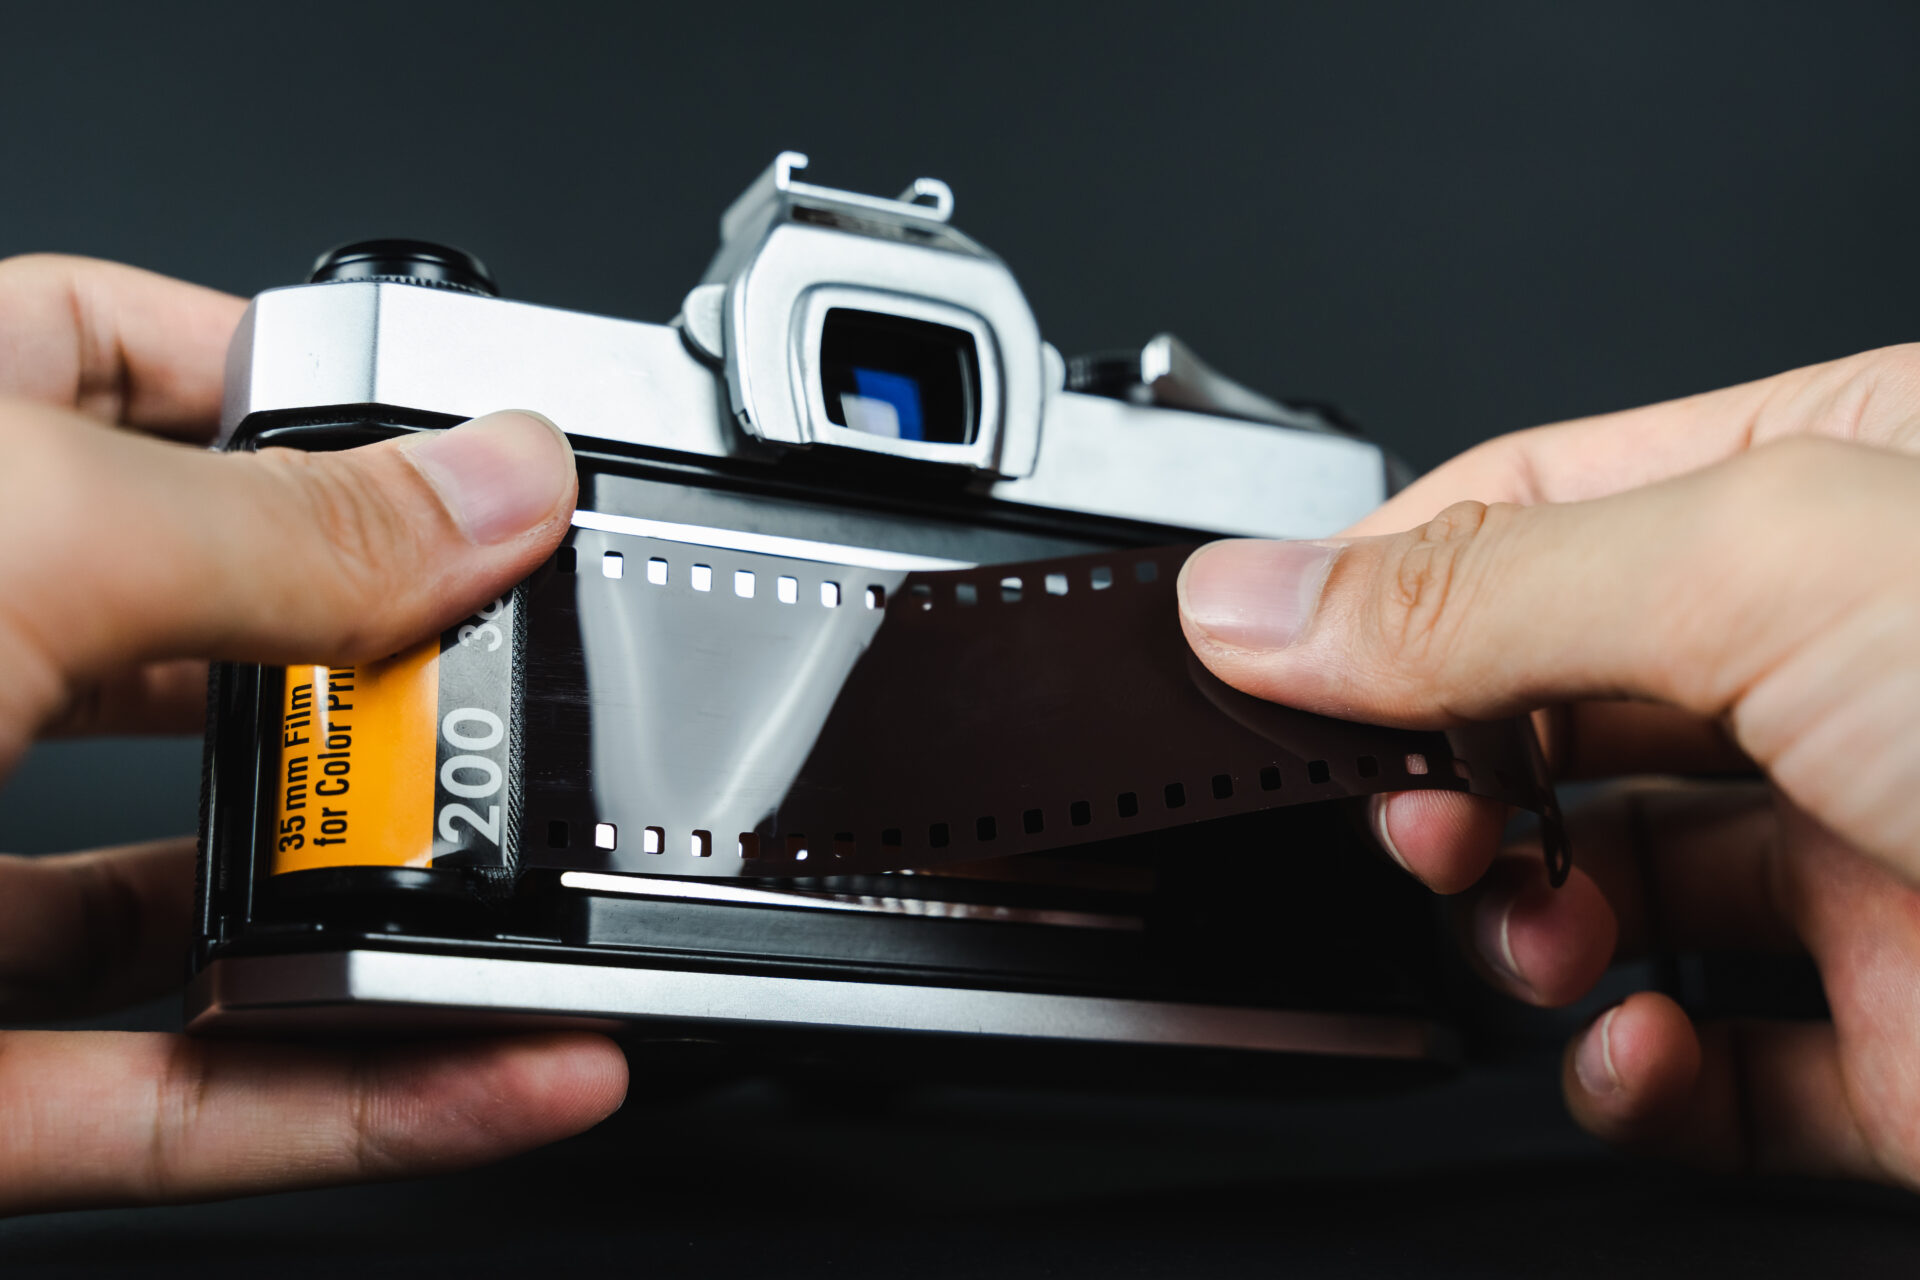
Step 3: Video Transfer – Preserving Motion Memories
Old videotapes are among the most vulnerable formats. Magnetic tape deteriorates, and playback machines are becoming obsolete.
Common Video Formats
- VHS / VHS-C
- Hi8 / Video8
- MiniDV
- Betamax
How Professional Video Transfer Works
At Archiving Life Media, video transfer involves:
- Cleaning and inspecting tapes
- Playing tapes on professional-grade equipment
- Capturing video in high resolution
- Correcting color, brightness, and audio
- Exporting to modern digital formats (MP4, MOV)
Benefits of Professional Video Transfer
- Stabilized footage
- Improved color and clarity
- Reduced noise and distortion
- Files compatible with TVs, computers, and phones
Digitized videos allow you to relive weddings, birthdays, vacations, and everyday family moments anytime.
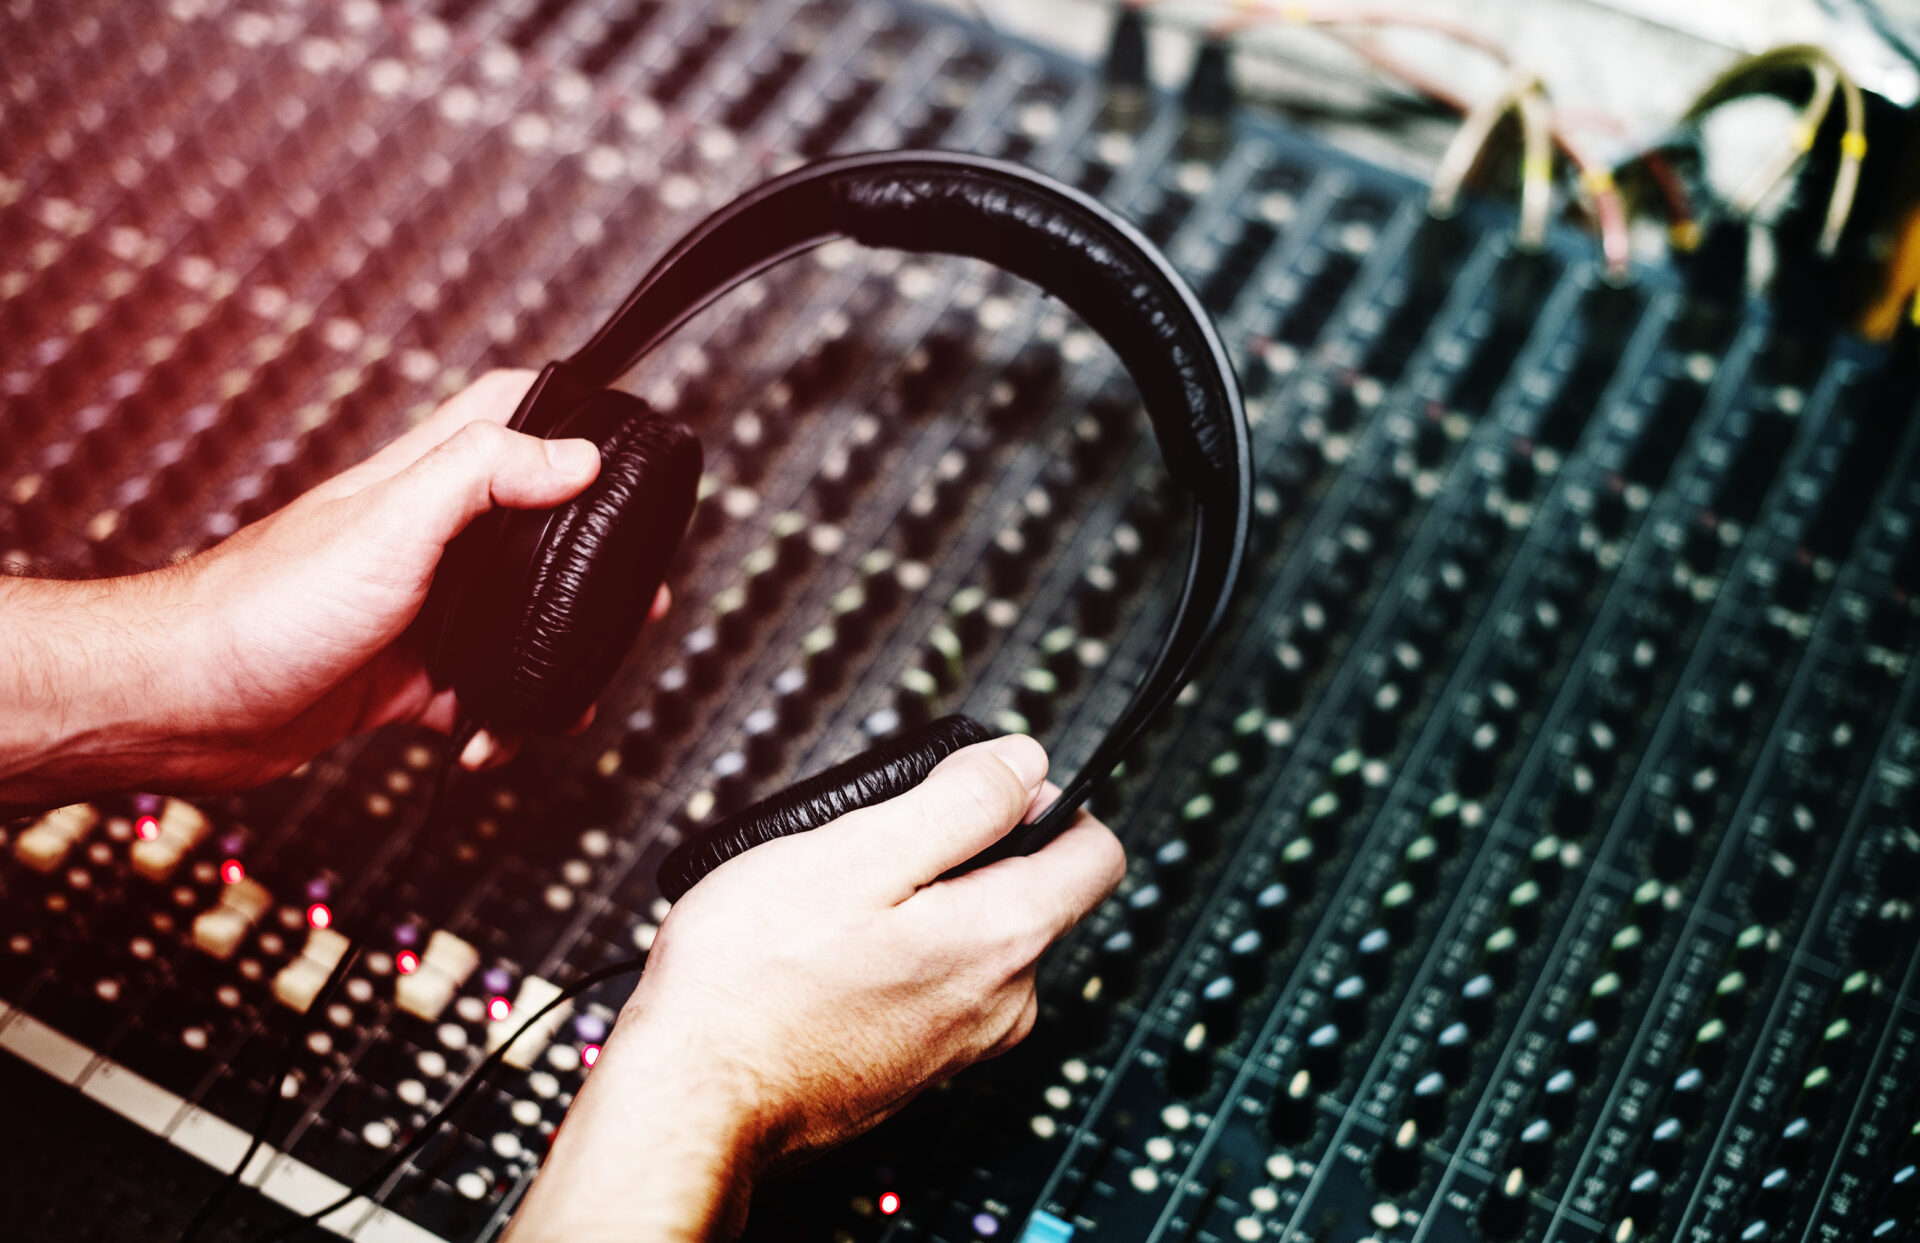
Step 4: Audio Transfer – Saving Voices and Music
Audio recordings often hold deeply emotional value—voices of loved ones, family stories, interviews, or personal messages.
Common Audio Formats
- Cassette tapes
- Reel-to-reel tapes
- Microcassettes
- Vinyl records
Audio Transfer Process
Professional audio transfer includes:
- Gentle tape handling and cleaning
- High-quality playback systems
- Digital capture with minimal distortion
- Noise reduction and audio enhancement
- Export to MP3 or WAV formats
Why Audio Transfer Matters
- Magnetic tape degrades faster than most people realize
- Lost recordings can never be recreated
- Digital audio can be shared, archived, and backed up easily
Preserving voices is one of the most powerful ways to keep memories alive.
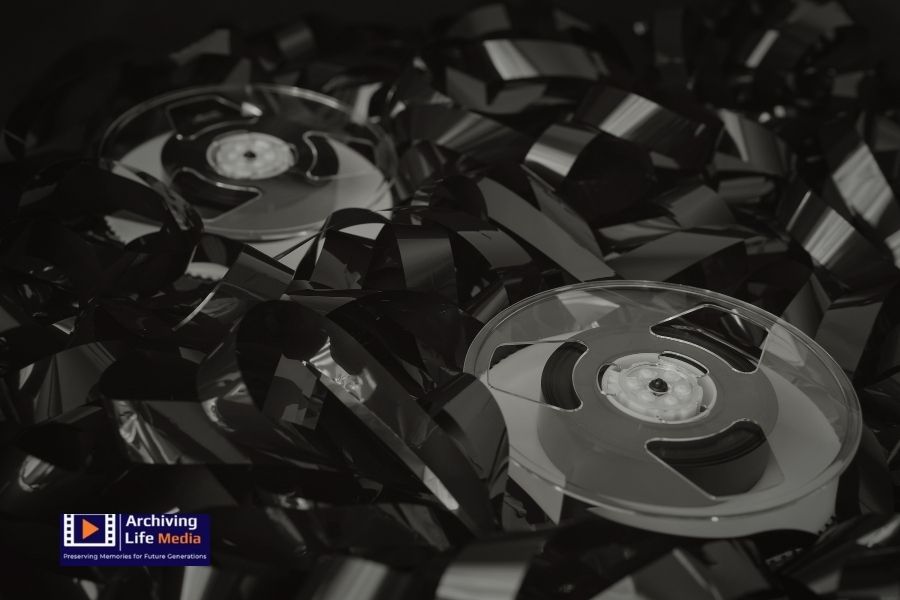
Step 5: Film Transfer – Protecting Fragile Film Reels
Film reels are especially delicate and require expert handling.
Film Formats Commonly Found
- 8mm
- Super 8
- 16mm
Professional Film Transfer Explained
At Archiving Life Media, film transfer involves:
- Frame-by-frame scanning
- Gentle cleaning and repair
- Color correction and stabilization
- Conversion to high-definition digital files
Why Film Needs Immediate Attention
- Film shrinks and becomes brittle
- Colors fade with exposure to light
- Projectors can damage fragile reels
Digitized film allows you to view your footage without risking further damage.
Step 6: Photo & Slide Scanning – Preserving Visual History
Photographs and slides capture moments frozen in time, but physical prints fade, crack, and yellow.
Items That Can Be Scanned
- Printed photographs
- Photo negatives
- 35mm slides
- Large format images
Photo & Slide Scanning Process
Professional photo & slide scanning includes:
- High-resolution scanning
- Dust and scratch removal
- Color correction
- Digital organization
Benefits of Scanning Photos and Slides
- Sharper images than smartphone photos
- Easy sharing with family
- Ability to create albums, books, and slideshows
- Safe backups in multiple locations
Your family history deserves archival-quality preservation.
Step 7: Organize and Store Your Digital Files
Once digitized, proper organization is essential.
Best Practices for Digital Storage
- Use clear file names (date, event, people)
- Create folders by year or event
- Store files on:
- External hard drives
- Cloud storage
- USB drives (as backups)
At Archiving Life Media, we help clients choose formats that are future-proof and easy to access.
Step 8: Back Up Everything
A single copy is never enough.
Recommended Backup Strategy
- One local copy (hard drive)
- One cloud copy
- One off-site copy
Backing up ensures your memories are safe even if devices fail.
Why Choose Archiving Life Media?
When it comes to preserving memories, trust matters. Archiving Life Media combines experience, care, and modern technology to deliver exceptional results.
What Sets Us Apart
- Professional-grade equipment
- Careful handling of fragile media
- High-quality video transfer, audio transfer, film transfer, and photo & slide scanning
- Personalized customer support
- Secure and confidential process
Your memories are treated as if they were our own.
Conclusion
Every tape, photo, slide, and reel holds a story. Waiting too long risks losing them forever. Digitizing your memories is not just about technology—it’s about preserving your legacy.
Archiving Life Media is here to help you protect your past and share it with future generations.
Contact us today to start your memory preservation journey. Let us turn your fragile media into lasting digital treasures.
stay connected with Archiving Life Media on Facebook, Instagram, and Google Business Profile and be inspired by timeless memories brought back to life
Frequently Asked Questions (FAQs)
Q. How long does the digitization process take?
Turn around time depends on the quantity and condition of your media. Most projects are completed within a few weeks.
Q. Will my original media be returned?
Yes. All original tapes, photos, slides, and films are safely returned after digitization.
Q. What digital formats do you provide?
We offer widely compatible formats such as MP4 for video, MP3 or WAV for audio, and high-resolution JPEG or TIFF for photos.
Q. Is my media safe during the process?
Absolutely. Archiving Life Media follows strict handling and security procedures to protect your irreplaceable memories.