
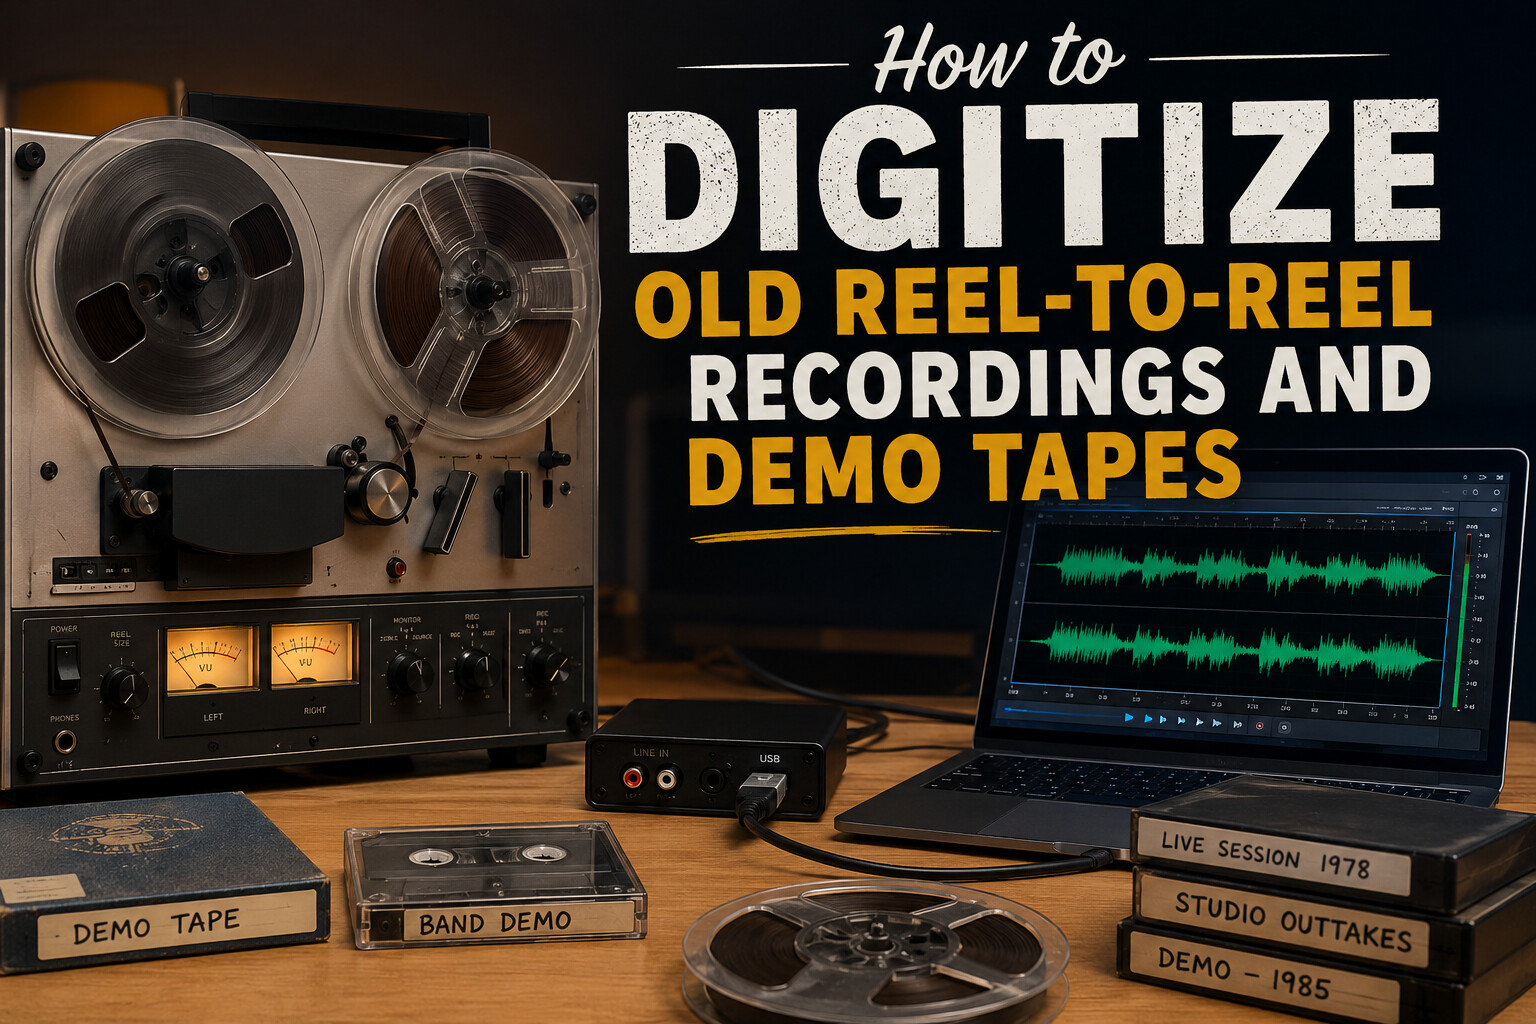
Reel-to-reel tapes and demo recordings hold a kind of sound that newer formats never quite matched. Musicians used them for practice sessions and early demos, families used them for voice recordings and home audio, and radio stations used them for archives. If you have a box of these tapes sitting in a closet or storage bin, they won’t stay playable forever. Magnetic tape breaks down with age, and every year that passes makes the recording harder to save. This guide walks through what happens to these tapes over time, what you need to transfer them yourself, and when it makes more sense to hand them to someone with the right equipment.
What Makes Reel-to-Reel Tapes Worth Saving
Reel-to-reel recordings often capture material that was never copied anywhere else. A band’s early demo, a grandparent’s voice, a live performance recorded on a home deck — these are one-of-a-kind pieces of audio. Unlike a commercial cassette or vinyl record, there’s no factory master sitting somewhere else. If the tape is lost or damaged, the recording is gone. That’s part of why so many people hold onto these reels for decades, even without playback equipment to actually listen to them. Some tapes sat in attics or basements for thirty or forty years before anyone tried to figure out what’s actually on them, and by that point, the family member who recorded it may no longer be around to explain the context.
How Old Tape Actually Breaks Down
Magnetic tape isn’t a stable material. It’s built from a plastic base coated with a layer of magnetic particles held on by a binder, and that binder is the part that fails first. Heat, humidity, and time all work against it. A tape stored in a garage or attic ages faster than one kept in a climate-controlled closet, and most reel-to-reel recordings are now 40 to 60 years old, which puts them well past the point where deterioration is a real concern rather than a theoretical one.
Several issues show up consistently as tape ages:
- The binder holding magnetic particles to the tape breaks down, a problem often called “sticky shed syndrome”
- Tape becomes brittle and prone to snapping during playback
- Old reels shed oxide, leaving residue on playback heads
- Storage in heat or humidity speeds up warping and mold growth
- Original playback machines are increasingly rare and hard to service
Once a tape reaches this stage, playing it on an untested machine can cause permanent damage. This is one of the biggest reasons people search for a record to mp3 service rather than risk running a fragile tape through old equipment at home. A tape that snaps or sheds oxide during a home attempt often can’t be repaired well enough to try again.
What You Need Before You Start the Transfer Process
Anyone attempting a home transfer needs a working reel-to-reel deck that matches the tape’s speed and track configuration. Reel-to-reel tapes were recorded at different speeds, commonly 3.75, 7.5, or 15 inches per second, and using the wrong speed on playback will distort the pitch. Track configuration matters too — some tapes were recorded in mono, others in stereo, and some used four tracks to fit more material on a single reel. You’ll also need cables to connect the deck’s audio output to a computer or digital recorder, along with software capable of capturing and saving the audio as a file. Beyond equipment, a clean, temperature-controlled workspace matters, since dust and humidity affect both the tape and the machine during handling. A workspace free of pets, open windows, and excess dust reduces the chance of debris getting into the tape path during playback.
Step-by-Step Process for Digitizing Reel-to-Reel Recordings
Step 1: Inspect and Clean the Tape
Before threading a tape onto any machine, check it for visible damage, mold, or brittleness. A tape with sticky shed syndrome may need to be baked in a low-temperature oven for several hours to temporarily restore playability. This process, sometimes called tape baking, evaporates excess moisture in the binder long enough to get through a single playback pass. Cleaning the tape surface gently with a lint-free cloth removes loose debris that could clog the playback heads and cause dropouts in the recording.
Step 2: Choose the Right Playback Equipment
Match the deck to the tape’s original recording speed and track format. Running a tape on the wrong settings can distort audio permanently or damage the tape itself. If you don’t have the original machine specs, a slow test run at low volume can help confirm the correct setup before committing to a full playback pass. It also helps to demagnetize the playback heads before starting, since a magnetized head can introduce hiss or partially erase parts of the tape as it plays.
Step 3: Connect to a Digital Recording Source
Route the deck’s output into a computer, audio interface, or standalone digital recorder. This step turns the analog signal into a file that can be edited, copied, and stored without further wear on the original tape. Setting input levels correctly before recording matters here — levels that are too low bury quiet sections in noise, while levels that are too high cause clipping and distortion that can’t be fixed afterward.
Step 4: Convert the Audio File
Once captured, the raw recording gets converted into a usable digital format. This is the core of what any record to mp3 service actually does, and it’s the point where file size, audio quality, and compatibility with modern devices get decided. Higher-quality formats preserve more detail but take up more storage space, so the right choice depends on whether the file is meant for archiving, everyday listening, or both.
Step 5: Edit and Restore the Sound
Old tapes often carry hiss, hum, or dropouts. Basic noise reduction and level adjustments can clean up the recording without changing its character. This step is optional but makes a noticeable difference for tapes meant for regular listening rather than pure archival storage.
Should You Do It Yourself or Bring in Help
Home transfers work for people who already own reel-to-reel equipment and are comfortable troubleshooting mechanical issues. The tradeoff is time, and the risk of damaging a fragile tape on a machine that hasn’t been serviced in years. A single misaligned playback head can introduce noise that’s impossible to remove later, and a tape that snaps mid-playback may not survive being spliced back together. For anyone without the equipment or experience, working with someone who handles this kind of transfer regularly avoids that risk entirely and usually produces cleaner results, since calibrated equipment maintained specifically for older formats tends to read tape more consistently than a machine pulled out of storage after decades of disuse.
Why Demo Tapes Need Extra Care
Musicians’ demo tapes carry a different kind of value than family recordings. These are often the only surviving copies of early songwriting, rehearsal sessions, or unreleased tracks. Many demo tapes were recorded on lower-cost equipment or reused reels, which means the tape itself may already show more wear than a professionally produced recording. Handling these tapes requires patience, since a snapped or damaged demo tape can mean losing music that was never written down or performed again. Musicians, songwriters, and small studios frequently reach out specifically because these recordings represent creative work that can’t be recreated, and a bad transfer attempt can be just as costly as leaving the tape untouched.
Weighing DIY Equipment Against Professional Help
Buying or repairing a reel-to-reel deck can cost more than having a handful of tapes transferred professionally, especially once you factor in replacement belts, alignment tools, and cleaning supplies. A record to mp3 service typically handles multiple tape speeds and formats without requiring the customer to own or maintain any equipment. This matters most for people with only a few tapes to convert, where buying a full setup wouldn’t make financial sense. It also matters for tapes in poor condition, since professional handling reduces the odds of losing a recording during the transfer itself.
How Archive Life Media Handles Reel-to-Reel and Demo Tape Transfers
Archive Life Media works with reel-to-reel recordings, demo tapes, cassettes, and other analog audio formats that are becoming harder to play at home. Each tape goes through an inspection first, since older reels sometimes need gentle cleaning or conditioning before they can safely run through playback equipment. Recordings are captured at their original speed to avoid pitch distortion, then converted into digital files that work across phones, computers, and storage drives. For anyone with a box of old tapes they haven’t been able to play in years, sending them in for a review is often the simplest way to find out what’s actually recorded on them before anything is lost for good.
What to Expect From the Process
Turnaround time depends on the number of tapes and their condition, but a straightforward batch of reels typically takes a few weeks from drop-off to delivery. Files are usually provided as digital downloads, though physical copies on a drive are often available too. A reliable transfer process will also flag any tapes that show signs of damage before attempting playback, rather than risking the original material to save time. Pricing varies based on tape length and the amount of restoration work needed, so it helps to ask for an estimate based on your specific collection rather than a flat rate that doesn’t account for tape condition.
Storing and Backing Up Your Digitized Recordings
Once a recording exists as a digital file, it still needs proper backup. A single hard drive isn’t a permanent archive — drives fail, and files get lost during device changes or accidental deletion. Keeping copies in at least two separate places, such as a cloud storage account and an external drive, protects the work that went into the original transfer. Labeling files clearly with dates, names, or reel numbers also makes them easier to find later, especially for larger collections where dozens of tapes get converted at once. Some people also keep a simple written log of what’s on each reel, which saves time when searching through a large archive months or years later.
How to Tell If a Tape Is Worth Transferring
Not every reel needs the same level of urgency, and it helps to sort tapes before deciding how to handle them. Tapes stored in stable conditions, away from heat and moisture, tend to hold up better than ones kept in a garage or basement. Reels with visible warping, a musty smell, or flaking residue on the case are usually the ones that need attention first, since these are signs the tape is already breaking down. Labels with dates, names, or event descriptions are worth noting too, since unlabeled reels often turn out to hold nothing more than test recordings or blank sections, while labeled ones are more likely to contain something worth saving. When in doubt, running a short test segment through a record to mp3 service before committing an entire collection is a practical way to confirm what’s actually on the tape without spending time or money on reels that turn out to be empty.
Final Thoughts
Reel-to-reel tapes and demo recordings won’t last forever, and every year of storage adds more risk of permanent loss. Whether you have the equipment to attempt a transfer at home or you’d rather bring in someone with the right tools, the most important step is simply not waiting. Old recordings that seem fine today can become unplayable within a few more years of sitting in storage. If you have tapes you haven’t listened to in a while, it’s worth having them looked at before that becomes a bigger problem.
Send your tapes in for a free condition check, and find out what’s actually on them before it’s too late to save.